How To Make Picture Fill Page In Word - Select Picture Select Picture browse through your image files and choose the image that you want to use. Click on Fill Effects.

How To Create A Printable Using Microsoft Word Clothed In Scarlet Words Microsoft Word Microsoft
Then in the Position tab set horizontal and vertical positions.
How to make picture fill page in word. This opens the Fill Effects menu. Go to the Design tab and click the Page Color drop-down in the Page Background set of tools. Select an image by clicking on it then click Insert.
Click on the first photo in the file to select it. In the resulting dialog enter Bubbles as a search term. Add a shape to your document see Add shapes for instructions and click the shape to select it.
Use the scale scroller to increase the size so the full. This dialog box contains three options. Select Page Layout on the toolbar click the arrow at the bottom of Page Color and then choose Fill Effects.
Keep the rectangle selected and click Format under Drawing. Click on Page Layout or Design then click on Page Color. Click Drawing Tools Format and in the Shape Styles group click Shape Fill Picture.
Add or change a background image or watermark Go to Design or Layout and select Watermark. Make sure Fill is selected then select Picture or Texture Fill. In the Word window click File New press Ctrl N keys to create a new document.
Select Picture in the Fill Effects dialog box click Select Picture to select a picture from your computer and then click Insert. In the resulting dropdown choose Picture. Open the MS Word file you want to add an image background to.
Scroll to the specified page you will add background image in and click View One Page to show the whole page in. This will put the picture behind any text on the page. Open the Word document in which you want to tile a picture.
In the new document click Insert Screenshot and then select screenshot of the document you will save as. In the Text Wrapping tab choose Behind Text. How to make a picture fit the entire page on Microsoft word 1 Select to insert a picture.
After inserting a picture immediately you can get the Picture Tools Format Tab make sure the picture is in selection or double-click on the picture to open it Picture 2 on Resizing a Picture using Fill. Click on File and a new window will open. You can select several pictures to add to a Word document.
The picture will leave a small area of equal white space around picture. Select the picture or image you want tiled then click Insert. Click on the Picture tab then click Select Picture.
On the contextual Format tab click the Text Fill dropdown in the WordArt Styles group. Use the Word Online Pictures option to find filter images from the Internet. Click Insert Shapes Rectangle as below screenshot shown and then draw a rectangle covering the whole page.
A pop-up menu will open with colors to set as the background. Locate the background image from the location it was saved to your computer - for this tutorial I saved the image to the desktop and will import it from there. At the very bottom of this pop-up is an option Fill Effects.
Open the Word file where you want to make all the pictures of the same size. Go to the Picture tab and click Select Picture. You can select several images before clicking the Insert button.
Go to File Page Setup In the Paper Size dropdown menu select Custom Paper Sizes Heres what that looks like in a Mac. In the Size tab adjust the height and width to fit. You should make sure that the image is.
2 Click on the picture. Change all margins to 0 Select Textbox right click and choose Format Shape from the menu. Then click the Select Picture button to open the Insert Pictures dialog box.
Go to format under the picture tools. At Format Shape window under Fill choose Picture or texture fill Choose Insert from - File and insert picture. How to Apply a Picture as a Page Background in Word As a last option to insert a picture as a page background in Word click the Picture tab.
A new options box opens with fill effects to choose from. There should be a box around your picture. Then click on the View tab at the top.
Select the type of picture you want such as From a File or Online Pictures and then navigate to the picture you want and insert it. 3 Select Text wrapping 4 Choose behind text and start dragging your picture to fit in the.

This Super Easy Tutorial Teaches You How To Make Pretty Labels In Microsoft Word No Fancy Machines Requir Microsoft Word Free Create Labels How To Make Labels

Change The Page Background In Word Instructions And Video Lesson Page Background Words Lesson

How To Insert A Background Image Into Word Paper Background Classroom Organization Diy Pattern Pictures

How To Make Pretty Labels In Microsoft Word Free Printable How To Make Labels Microsoft Word Free Labels

Pin On How To Make Labels

Word 2010 Change Font Color With Gradient Fill Microsoft Word 2010 Words Text

How To Build A Mind Map In Microsoft Word Microsoft Word Mind Map Educational Consultant

How To Make A Bunting Banner In Word With Clip Art Tips And Tricks Bunting Banner How To Make Banners Bunting

Insert A Symbol In Word Instructions And Video Lesson Word Symbols Microsoft Word 2016 Microsoft Word
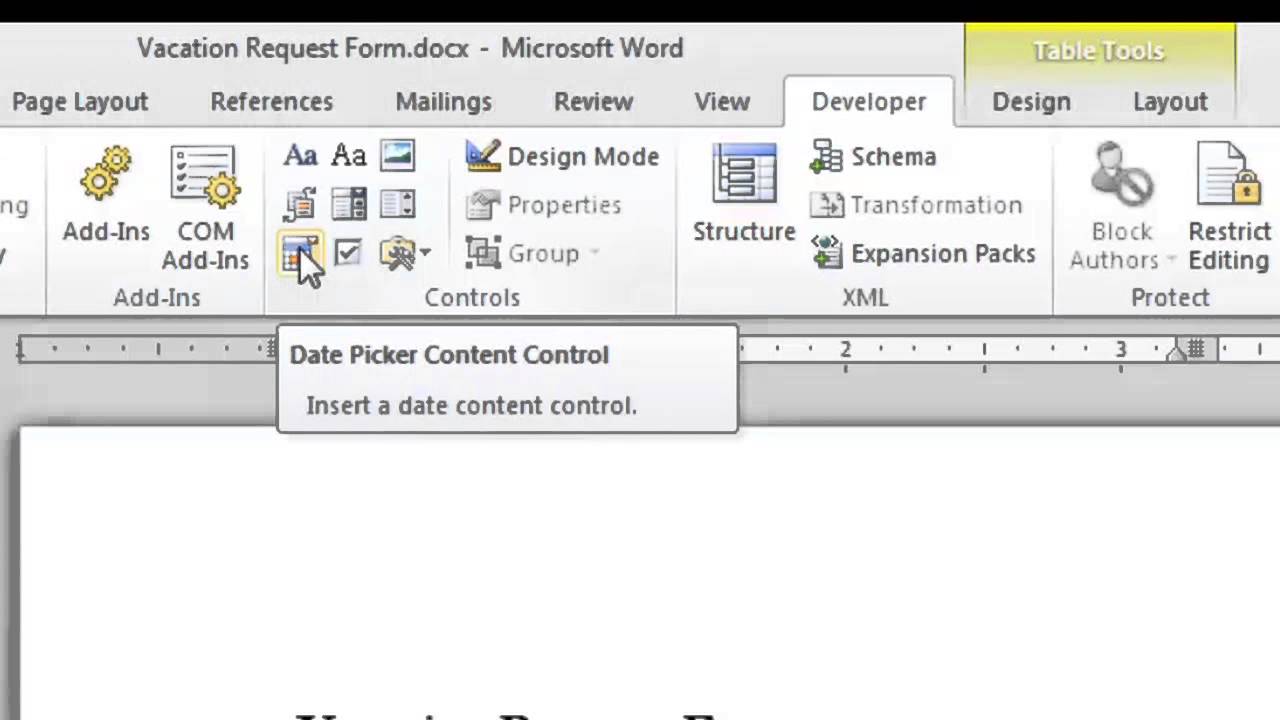
How To Make A Fill In The Blank Form With Microsoft Word 2010 Microsoft Word Doc Tips Microsoft Word 2010 Microsoft Word Document Blank Form

How To Create And Format A Text Box In Microsoft Word Words Microsoft Word Document Text

How To Make Custom Font Pantry Labels In Microsoft Word Pantry Labels Pantry Labels Fonts Microsoft Word Fonts

Pin On Tutorial

How To Reverse Image And Text In Word The Space Between Reverse Text Words Text
